Tilt-shift, a DIY guide - part 5, Shooting with DIY lenses
Posted on Mon 05 July 2010
A good starting point for beginners is to initially focus in on one point in front of the camera. Tilt the lens, and see if you can move the focal volume around to select two or more objects that are separated by a reasonable distance and get them all in focus.
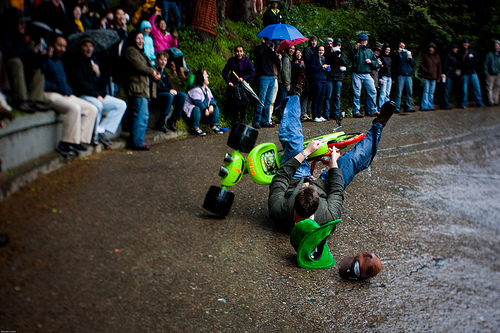
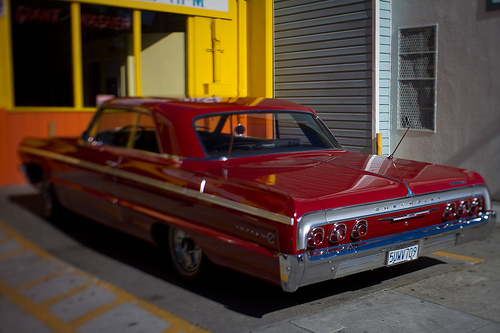
A practical note to keep in mind is that once the mechanism is removed, the aperture needs to be set manually. I personally like to shoot with the aperture wide open, which keeps the already shallow depth of field even shallower and often introduces all sorts of artifacts when light hits the lens at an oblique angle. A couple of examples can be seen in examples below.
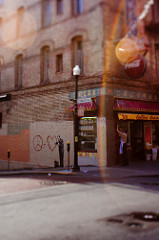

Bendy Bokeh
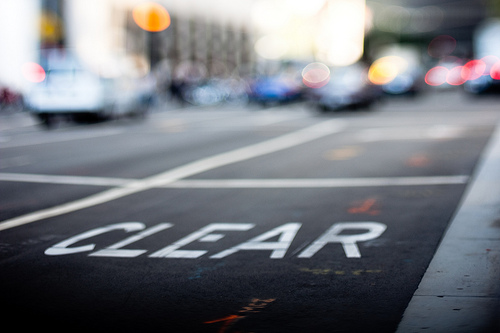
An interesting thing to note is that because the aperture is at an angle to the sensor, image artifacts take on strange-shaped distortions. An interesting example of this effect can be seen in this image by Johnnyoptic here, where you can see the lens flare turning into jellyfish shaped highlights instead of circles. This also means that as objects move away from the focal plane, the blurring can take on a strong directional bias (e.g. being stretched out horizontally or vertically). An example can be seen below.
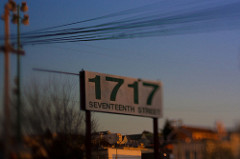
The shape of the aperture strongly affects the characteristics of the bokeh (out-of-focus areas) in the image. Point sources of light in out-of-focus areas take on the shape of the aperture. Tilt-lenses cause the aperture to look like an ellipse relative to the image plane, so out-of-focus areas in the image are also going to be blurred in an elliptical rather than a circular fashion. This gives real tilt-shift images a subtle, unique look that is sometimes difficult to replicate in photoshop.
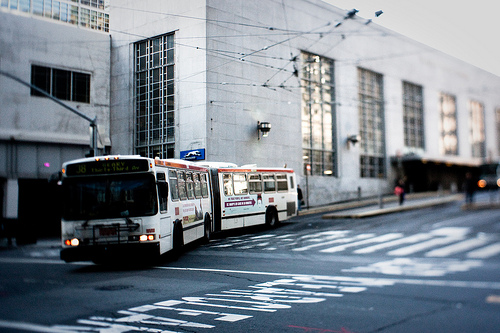
For shots involving miniaturisation, I find it useful to set the lens focus at infinity. In fact, for most type of shots (except for relatively close macro shots), I find that leaving the lens at infinity works really well.
DIY tilt-shift lenses skew the optical path quite significantly inside the camera, and as such this can throw off the auto-exposure metering in digital SLRs. In practise, for daytime shots, I've found that under-exposing the image by about 1 stop tends to correct for the errors in metering quite well.
Results
A bigger gallery of plungercam shots can be found here.
